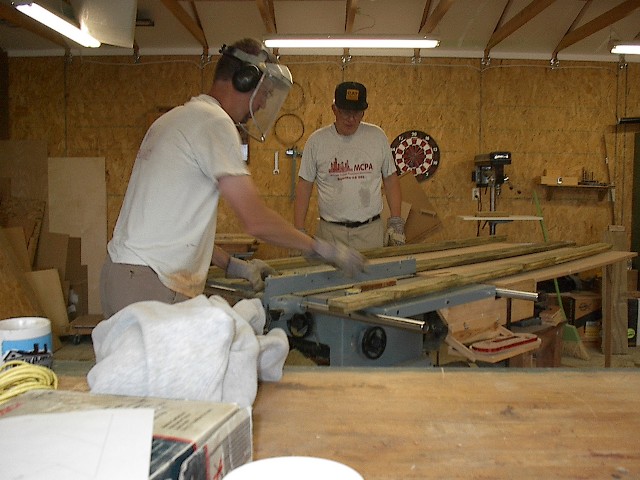
Ripping each of 136 sides to rough width
Stacks of 1x6 waiting to be ripped
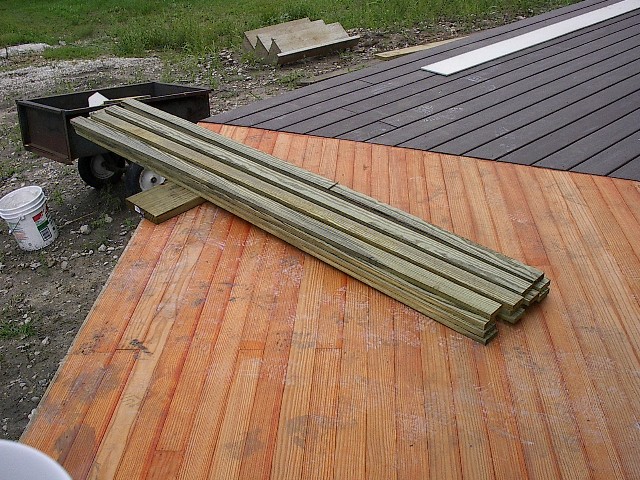
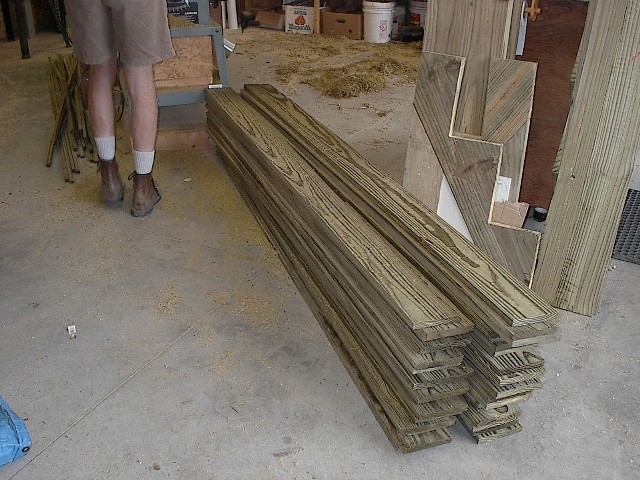
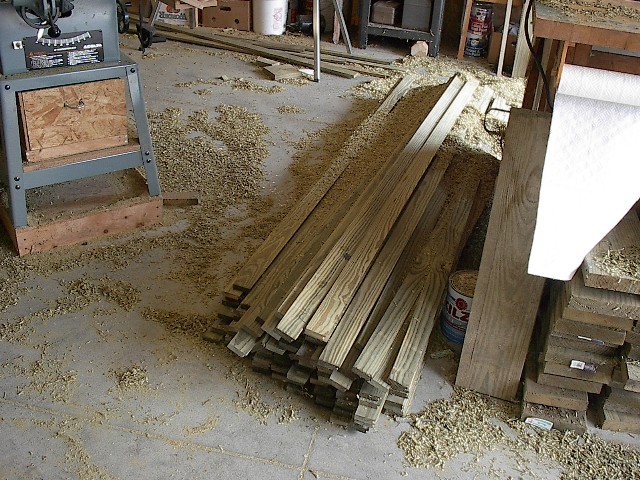
Ripped pieces on their way to the "drying area"

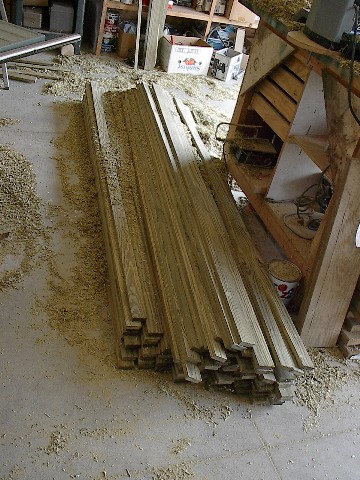
Beginning of the drying stack
Mike the material handler
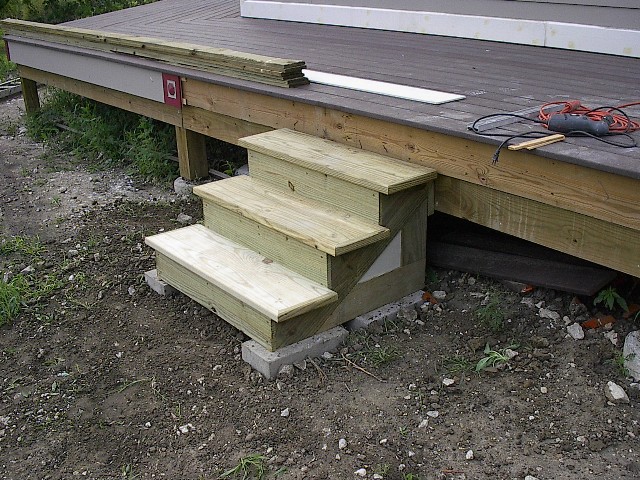
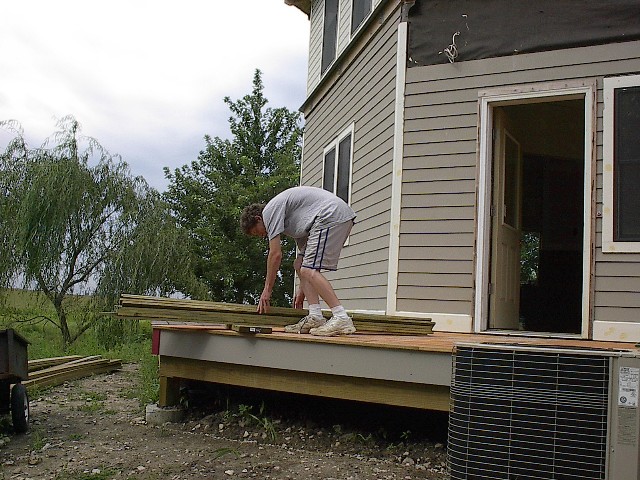
Our finished back steps
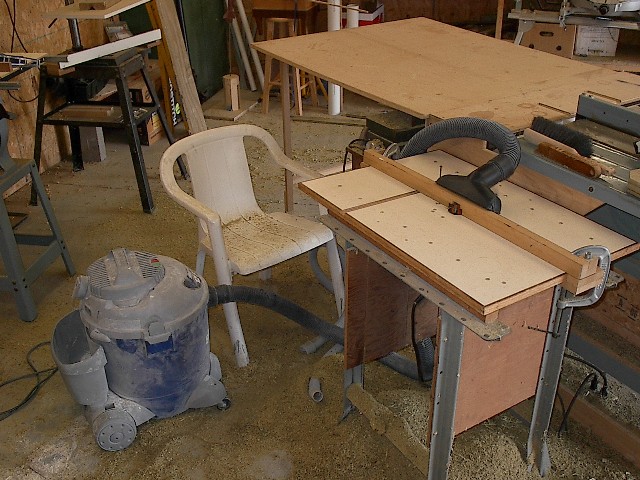
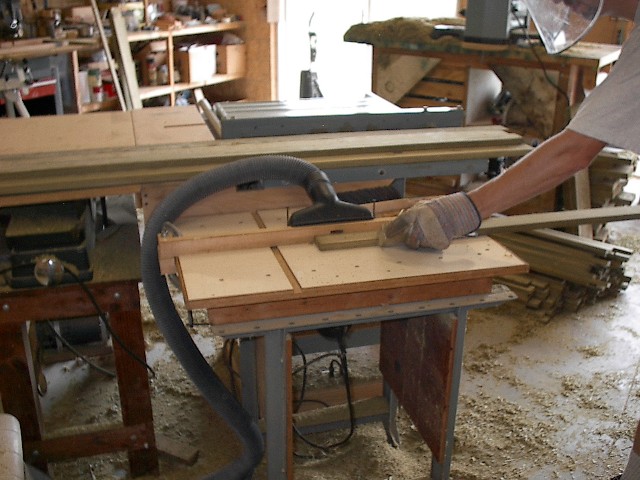
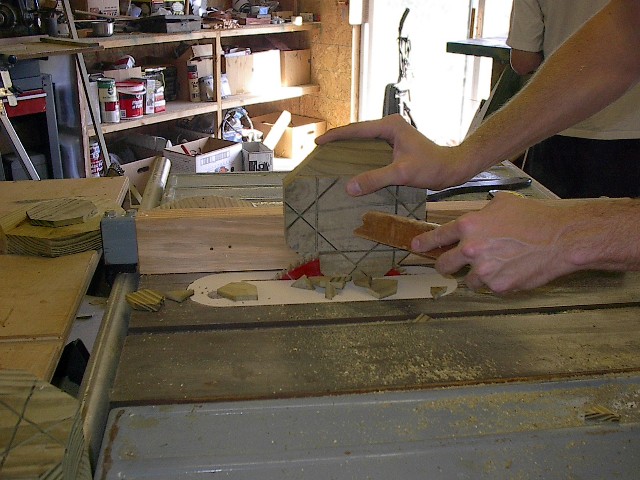
The router setup for mitering
One of the new push blocks I came up with
The stack with one edge mitered, awaiting the other edge
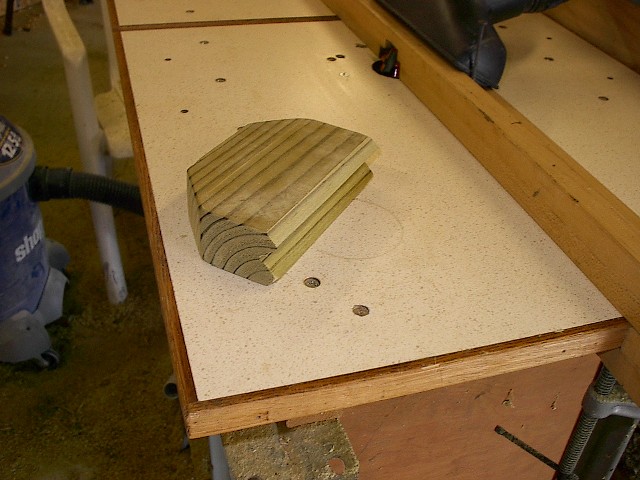
Close up of one the female miter
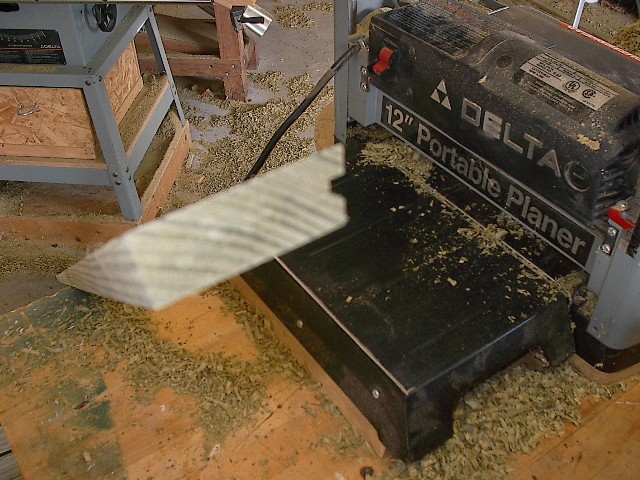
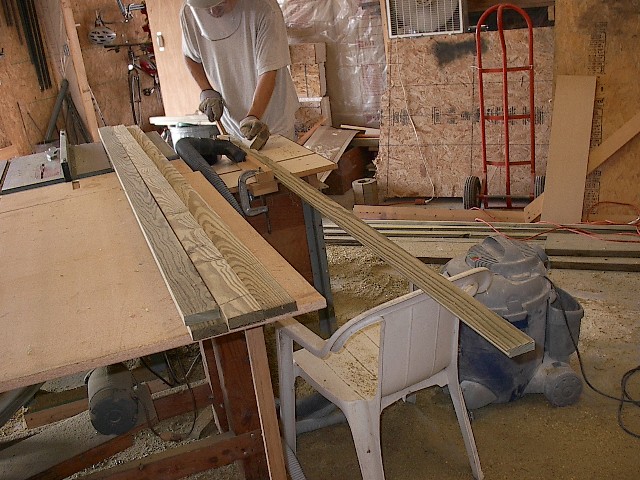
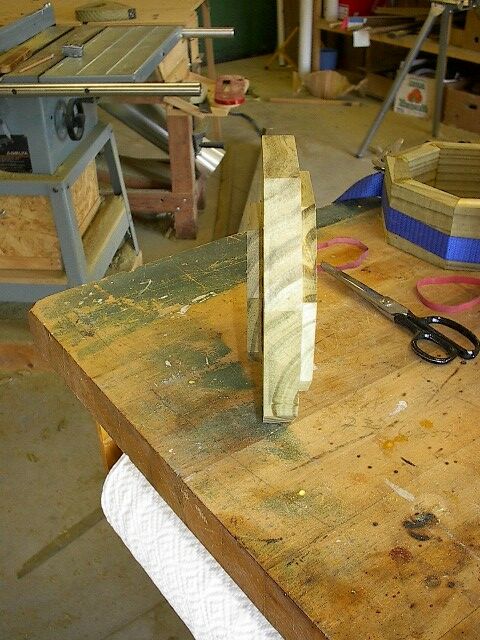
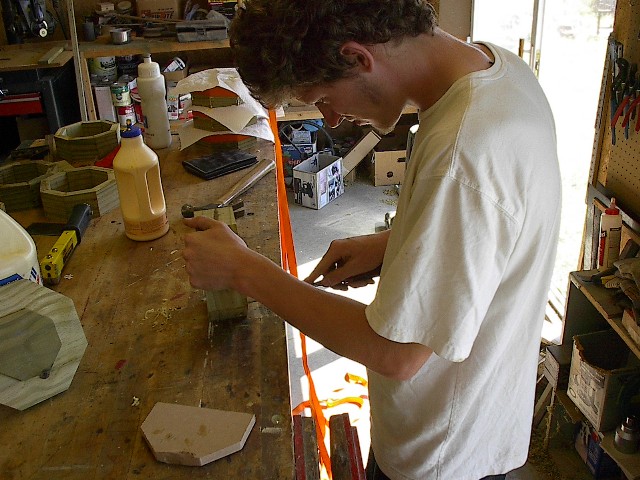
Planing to thickness prior to mitering
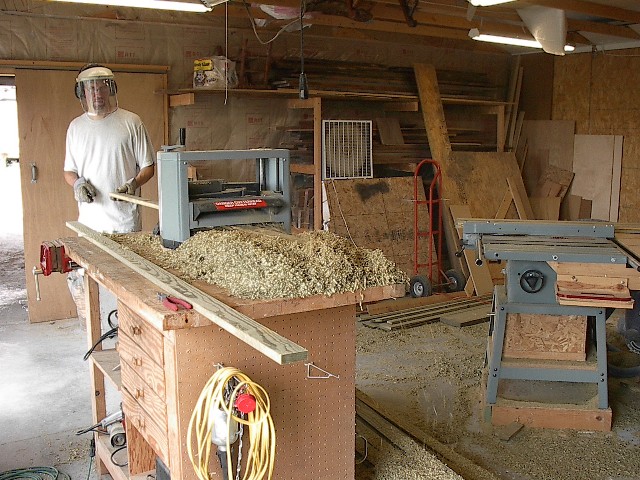
Planing
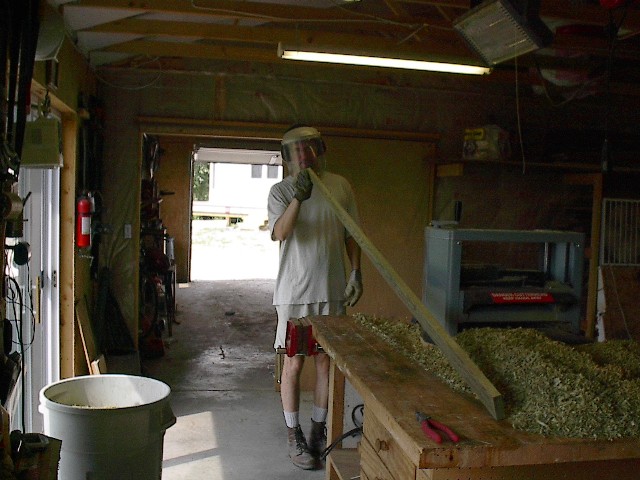
Checking for straight
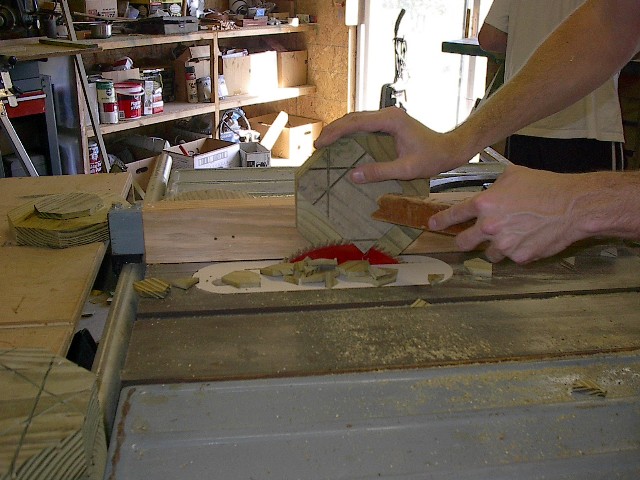
Mitering the female edge
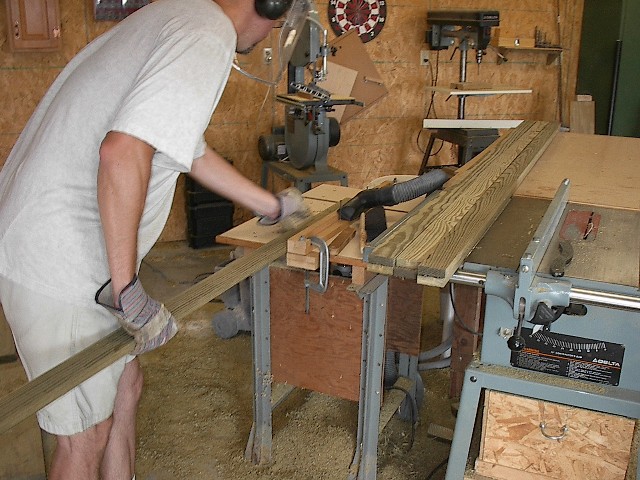
Mitering the female edge
The growing stack
More mitering
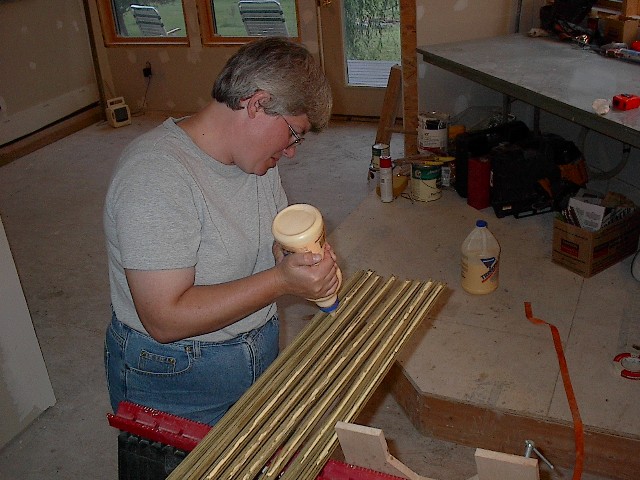
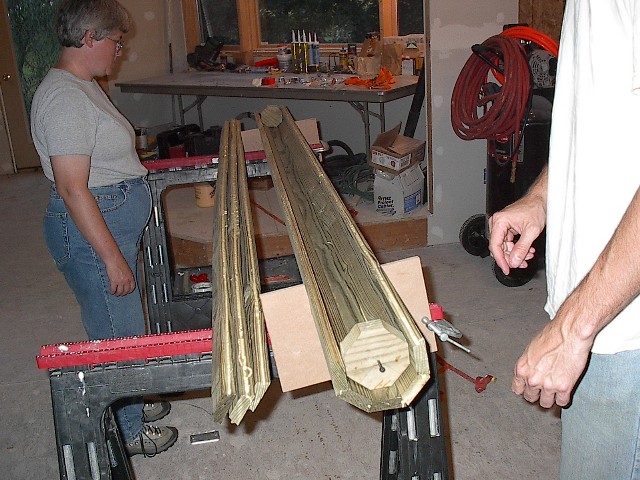
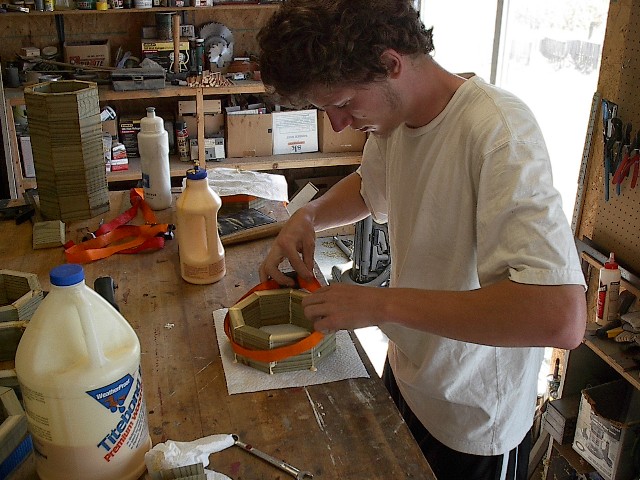
Lisa applying glue
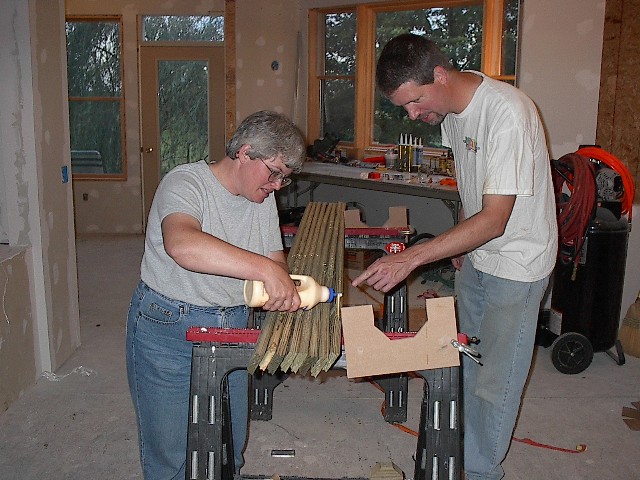
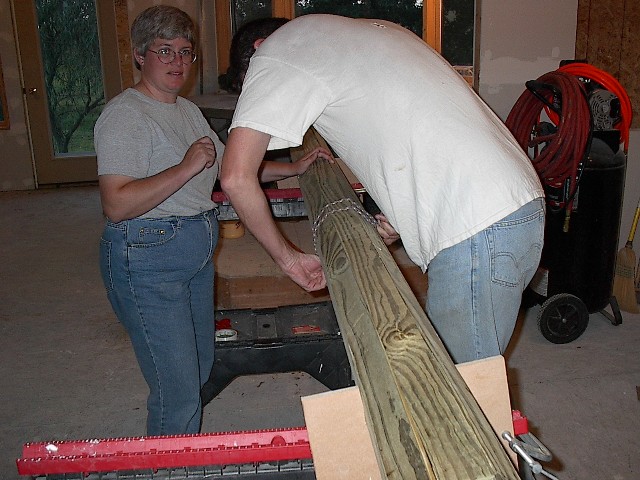
Lisa applying glue (me trying to be helpful)
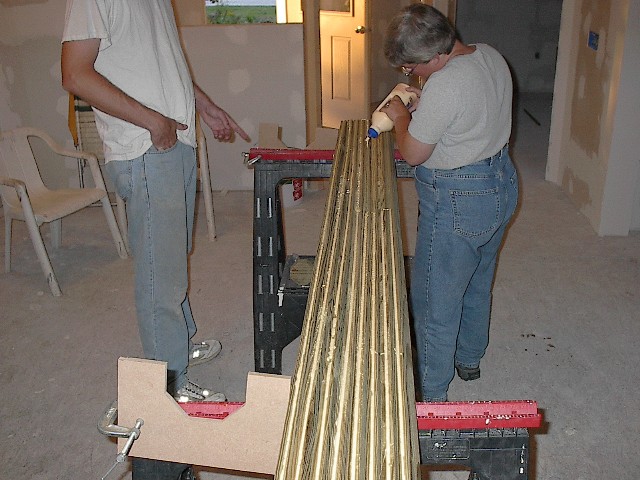
Lisa gluing (me asking why I'm always pointing at things in pictures)
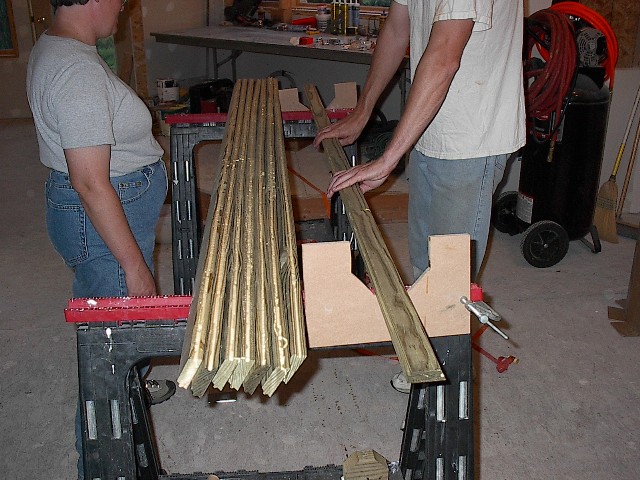
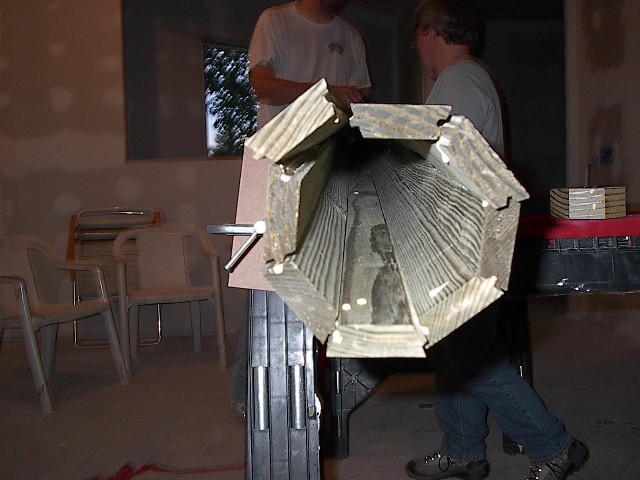
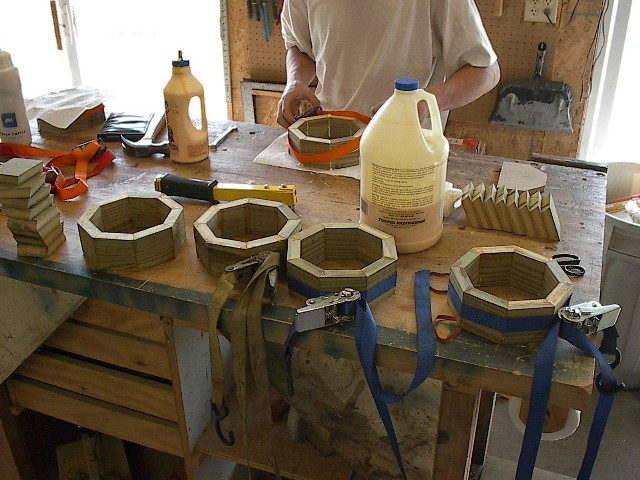
Assembly-side 1

Assembly-side 2

Assembly-side 3

Assembly-side 4
Assembly-side 5
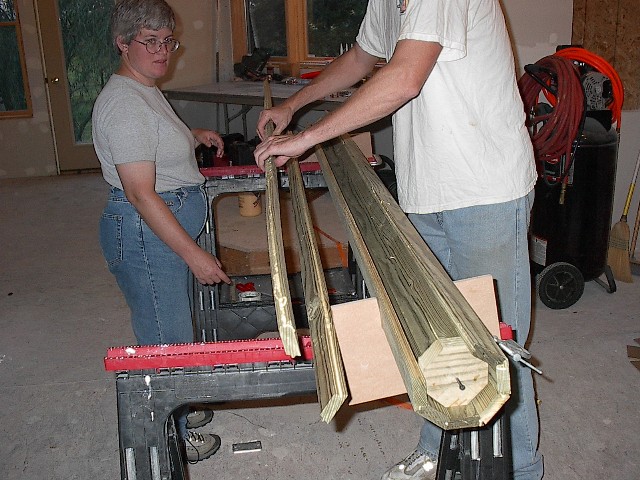
Assembly-side 6
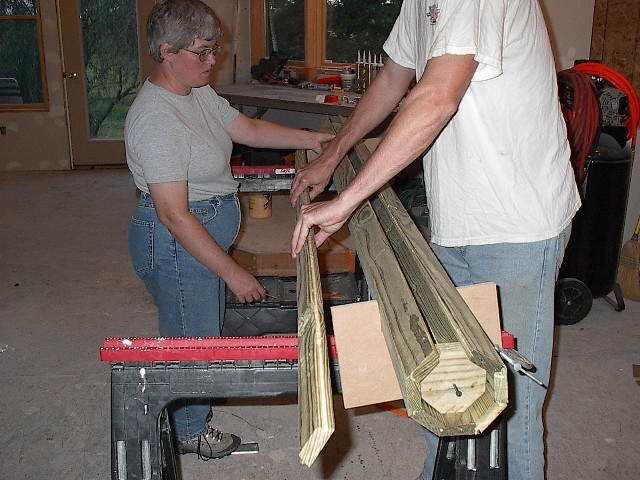
Assembly-side 7
Assembly-side 8
A bungie cord to hold it together while we clamp
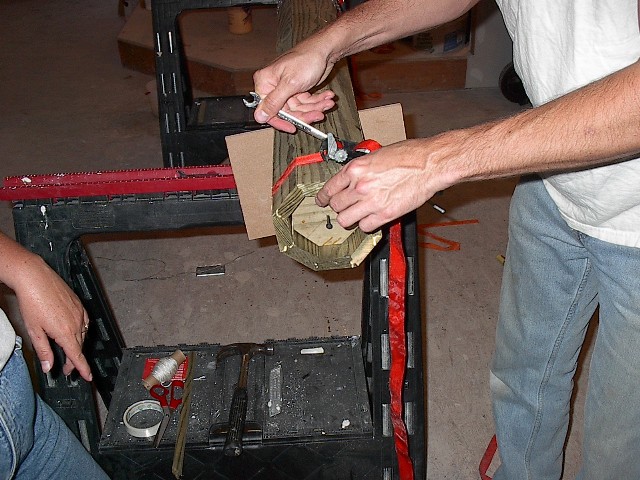
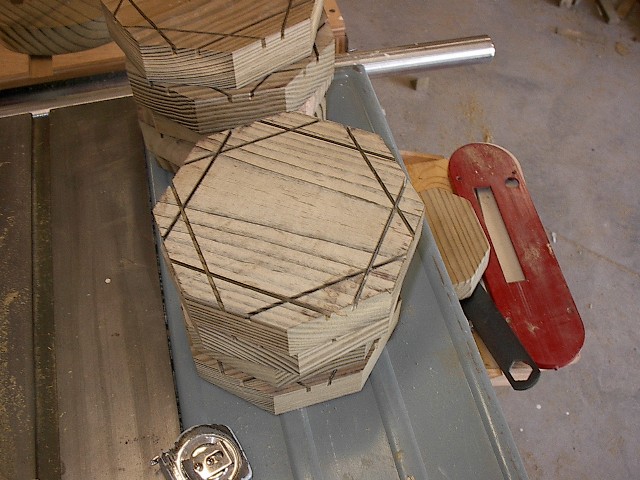
Clamp down with a band clamp
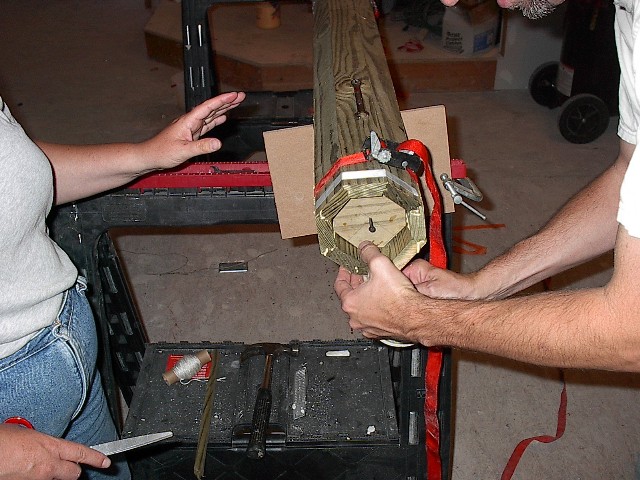
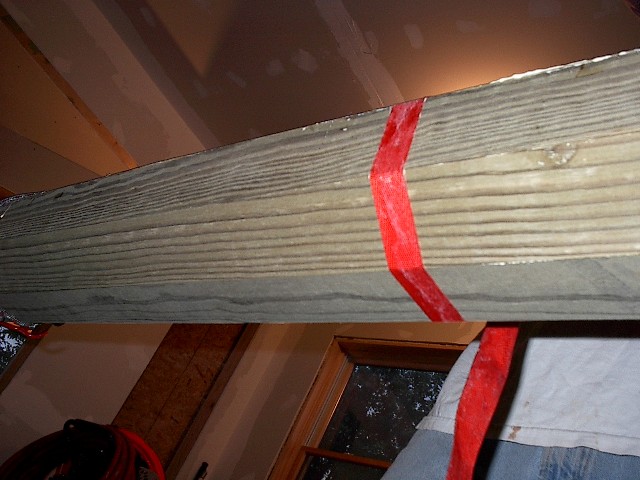
Wrap it with strapping tape to hold it
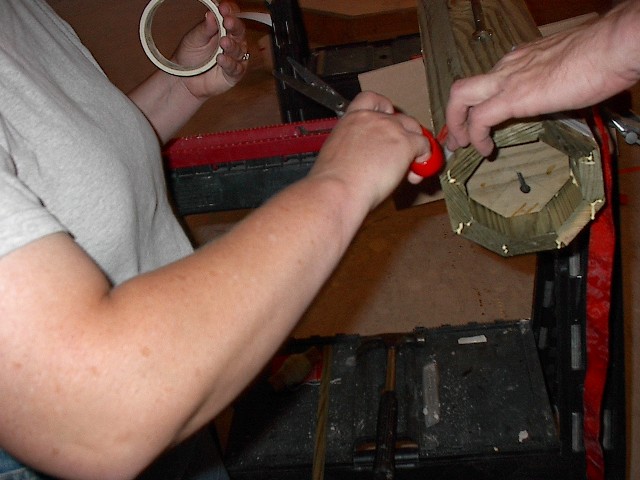
Cut the strapping tape
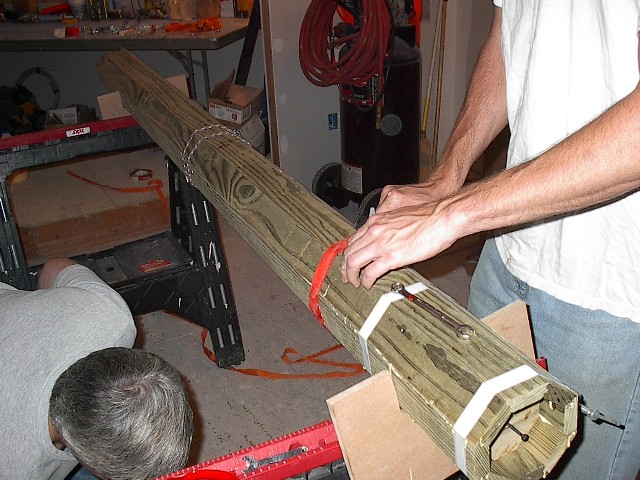
Move the clamp and do it again
And again...
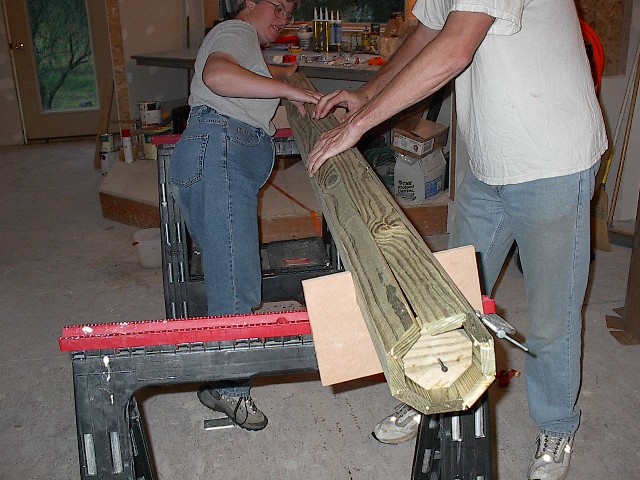
Some boards are straighter than others

(extra picture)
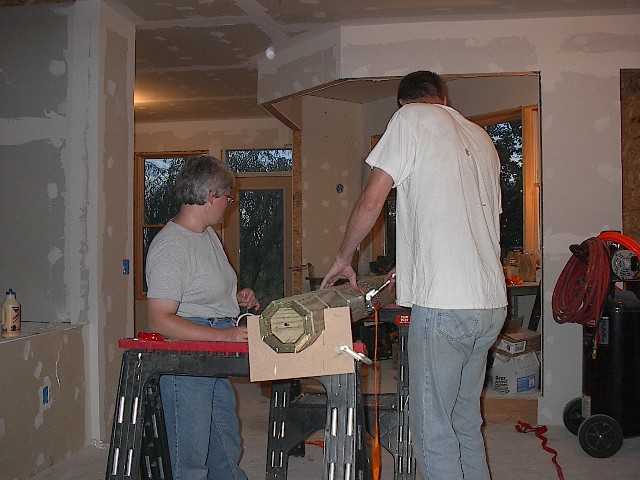
Lisa and Mark clamping
Mike gluing and clamping column bases
Bases drying
"Lids" for the bases in process

Other side of the lids
A lid with both rabbets cuts
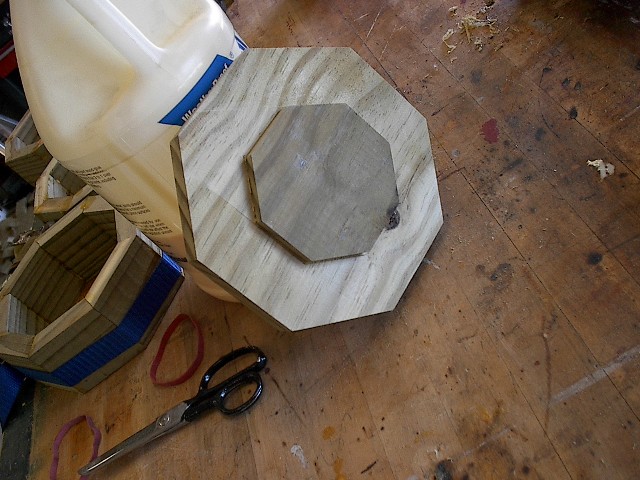
Another view of rabbeted lid
Mike doing clean up of excess glue
Cutting shoulders on lids
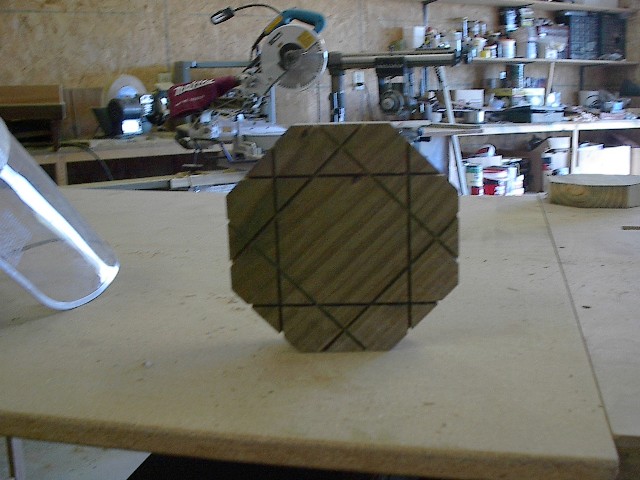
Just couldn't get enough of this cool pattern, could we?
Cutting the faces of the rabbets
Cutting rabbet faces (not all the little odd shapes)

A stack of column tops (not lids)
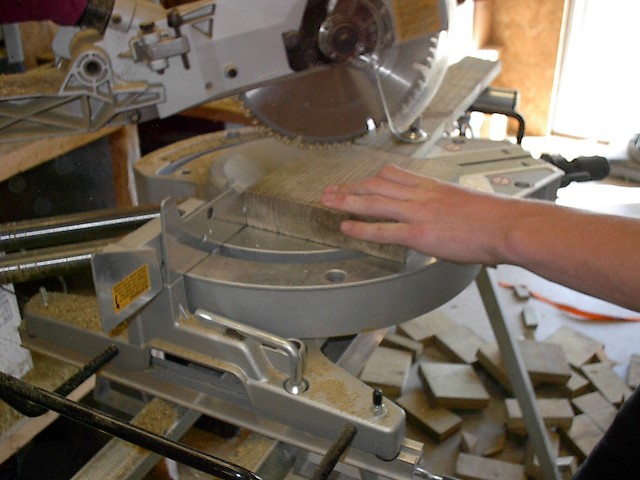
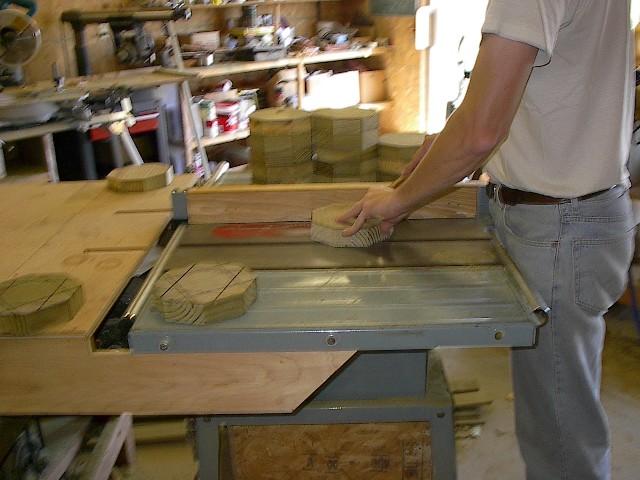
Mike cutting octagon blanks for lids and tops
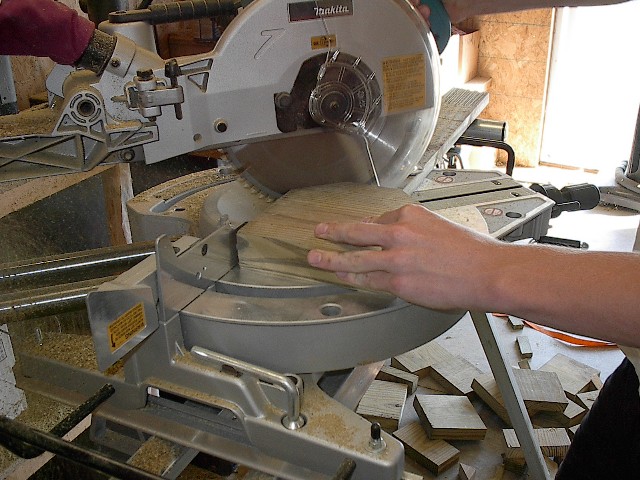
Mike cutting octagon blanks for lids and tops
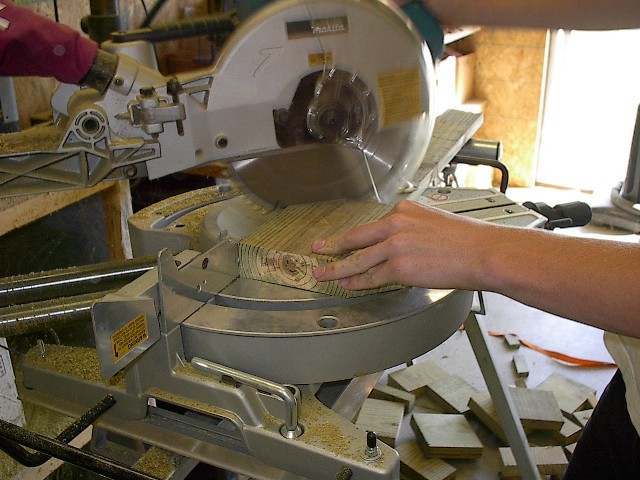
Mike cutting octagon blanks for lids and tops
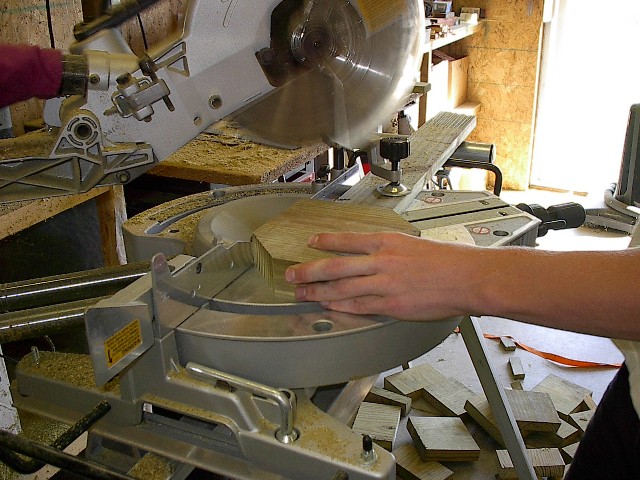
Mike cutting octagon blanks for lids and tops
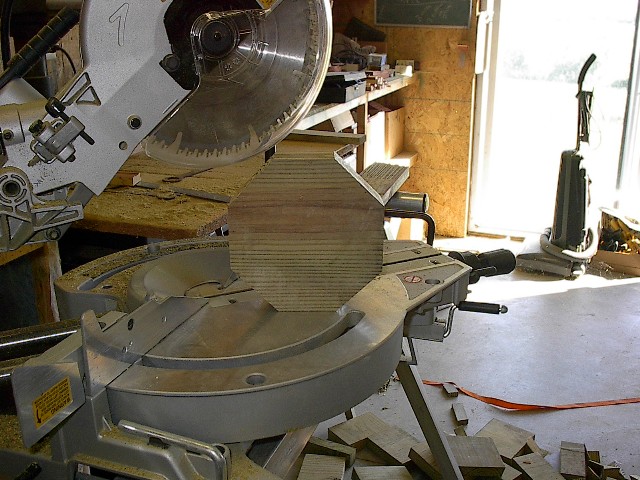
Mike cutting octagon blanks for lids and tops
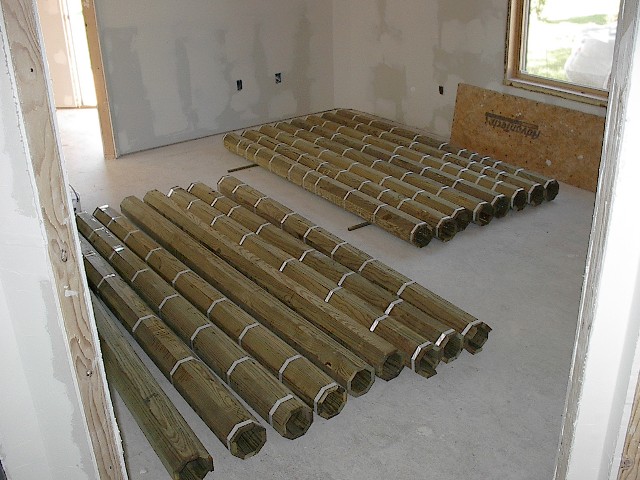
$17,000 worth of columns!